
Make a Christmas Light Picture Paper Chain
By ColorWillow
Turn six printed bulb pictures into connected paper loops. The special craft sheet has six 18 by 4 cm strips, each with a whole bulb picture and a 1 cm glue area at the right end. Choose two colors and alternate them as you build. This is a paper decoration, not working lights.
Print the project sheets
Choose the paper size loaded in your printer. Print at actual size (100%) so the pieces match the measurements in this guide.
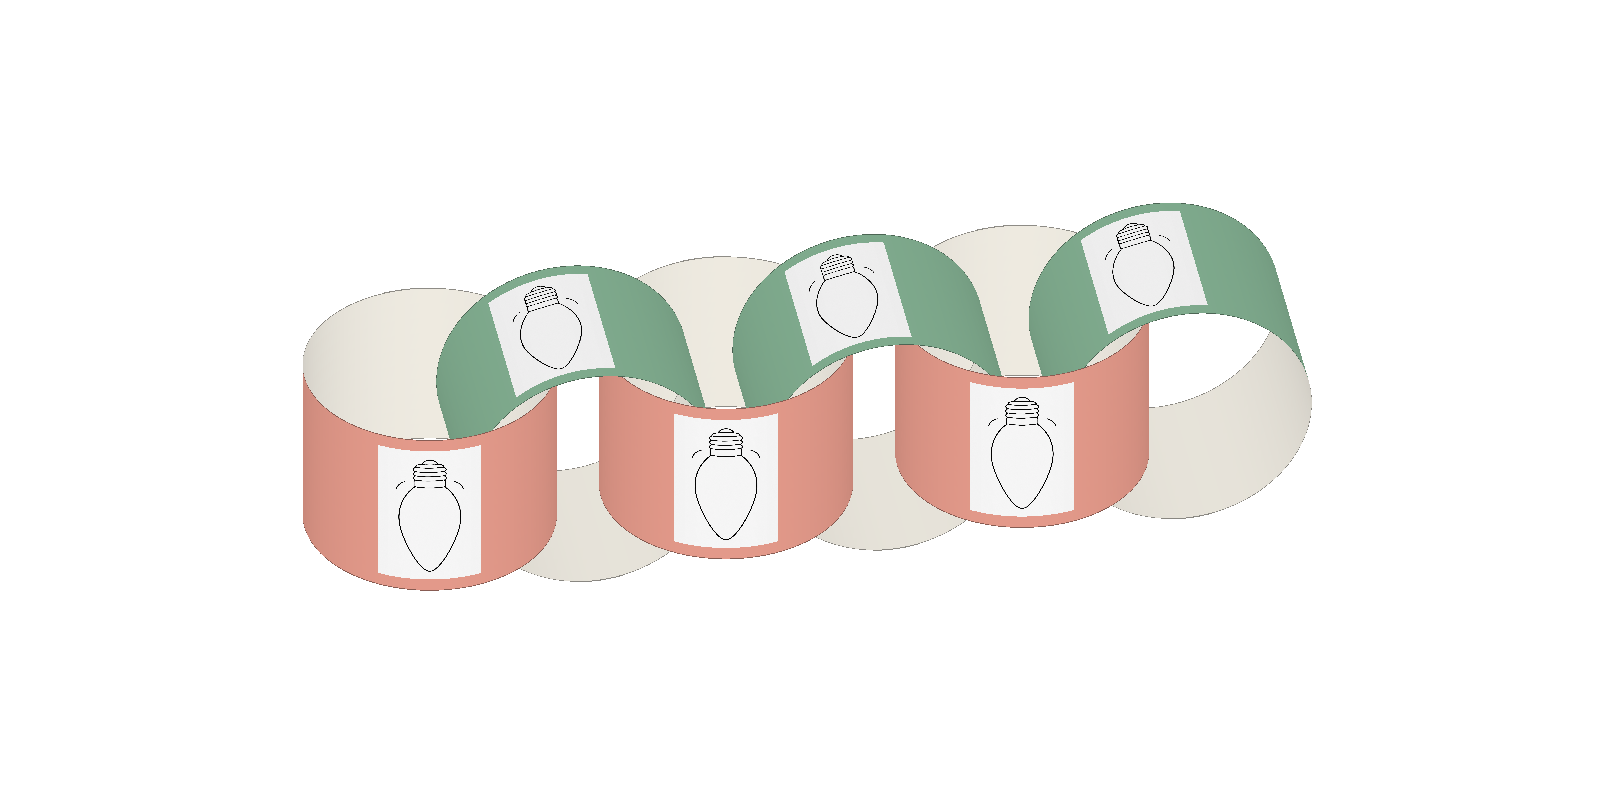
Cut, overlap and thread the strips
What you will need
- This project's six-strip craft PDF in A4 or Letter, with plain printer paper of the matching size
- Crayons or colored pencils, and a ruler
- A glue stick
- Child-appropriate scissors, with adult help
Print the craft sheet at its actual size
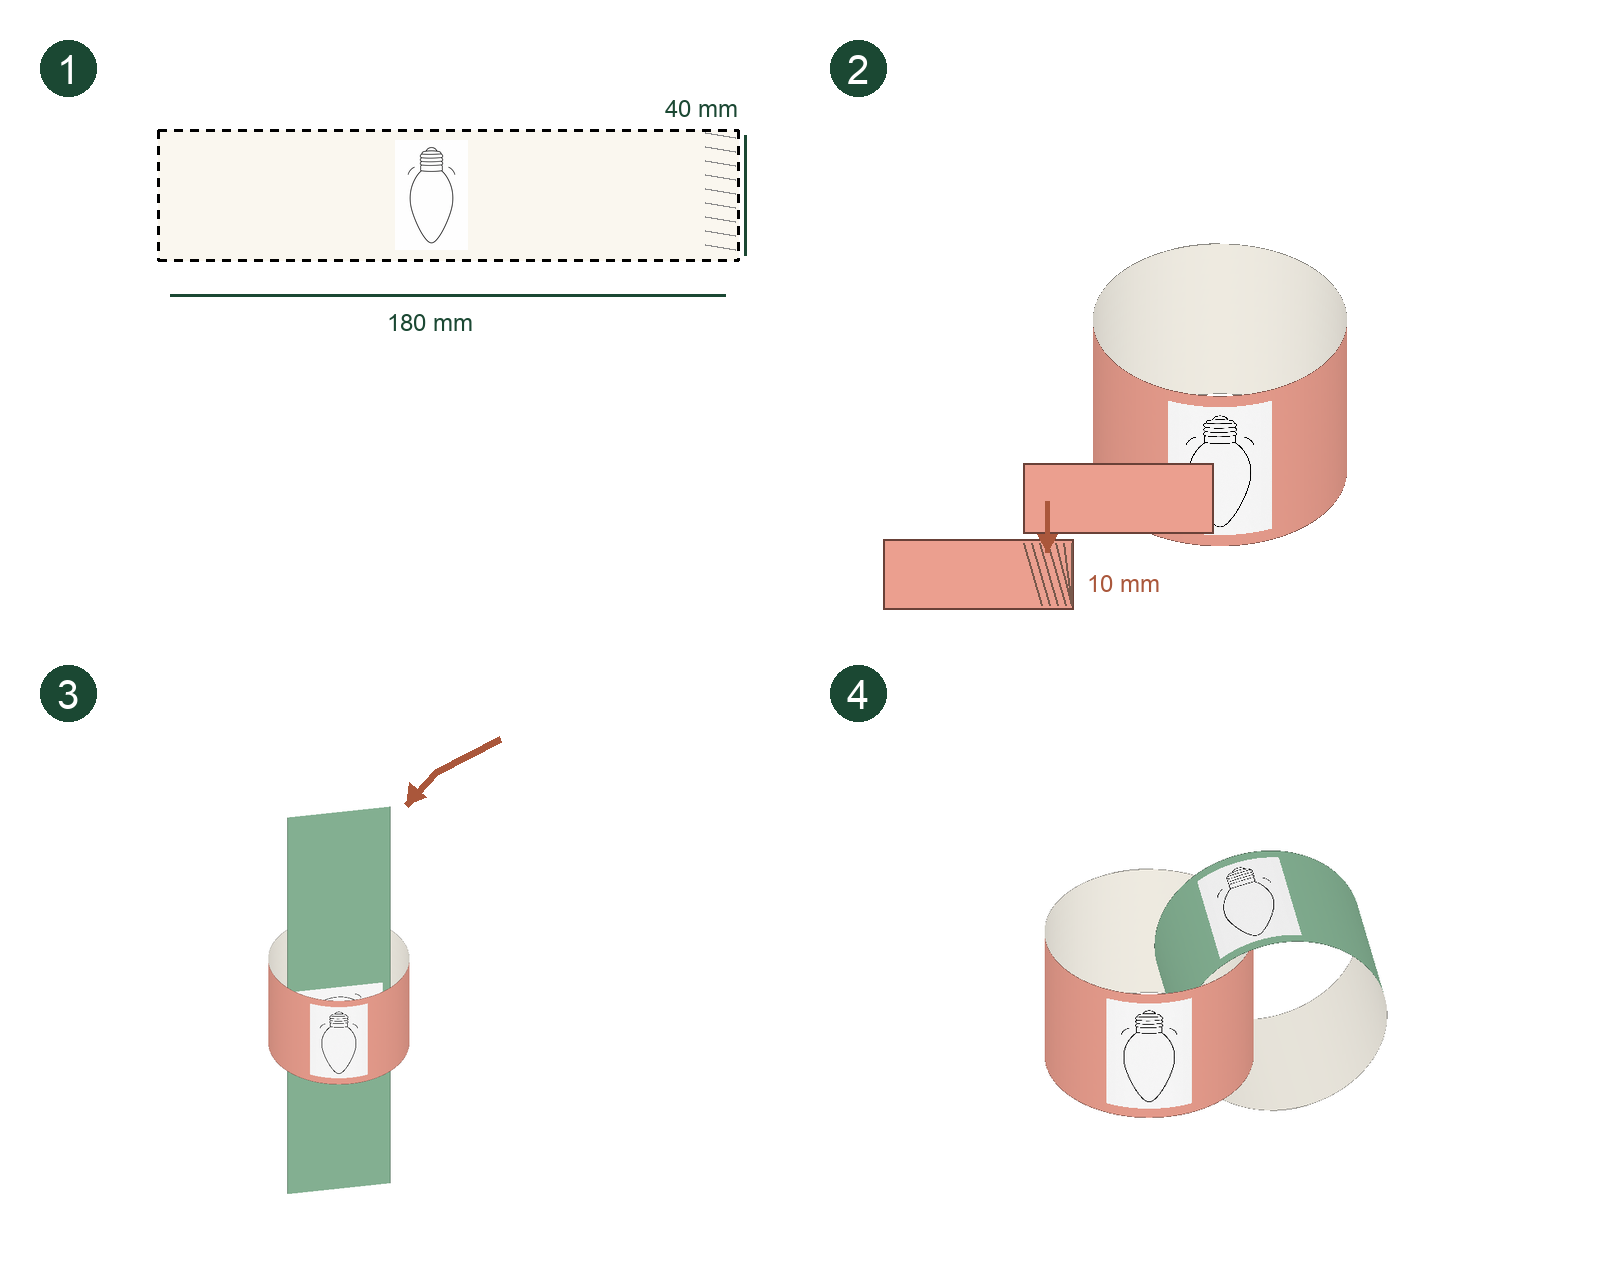
Choose the PDF that matches your paper. Print at 100% or Actual size and measure the 50 mm line with a ruler. It should measure 5 cm; if it does not, adjust the print settings before cutting. Use this six-strip sheet rather than a full-page coloring picture or the print-list PDF.
Color while the paper is flat
Choose two colors for an alternating sequence: first color, second color, first color, and so on across the six strips. Color the bulb shapes or the surrounding paper while the sheet is flat. Keep the hatched right-end areas free for glue; the bulb outline and little side curves are picture details, not cut lines.
Cut the six outside rectangles
Ask an adult to help cut only around each outside dashed rectangle. Keep the entire 18 by 4 cm strip, including its 1 cm right-end glue area. Do not cut around the bulb or along the inner glue-area boundary. Lay the six strips in your chosen color order.
Close the first loop
Put glue on the hatched 1 cm area at the right end of the first strip. Curve the strip with the picture facing outward, overlap the other short end onto that area by 1 cm, and press the join. Let the glue hold before adding the next strip; do not fold the strip into a sharp crease.
Thread, close and repeat
Pass a short end of the next strip through the first loop before gluing it into its own loop. Repeat with the remaining strips, checking your two-color sequence each time. The six loops stay connected because each new strip went through the previous loop before closing. Place the finished chain on a table or ask an adult to put it on a display board. Point along the repeating colors.