
Start a Nature Journal with Photo Coloring Pages
Add drawings made from your own nature photos to a paper observation journal. Keep dates and visible details tied to the original photograph, and use the coloring page as a place to explore shape and color.
A journal page combining a colored interpretation with observations from the real photo.
An idea for the finished piece
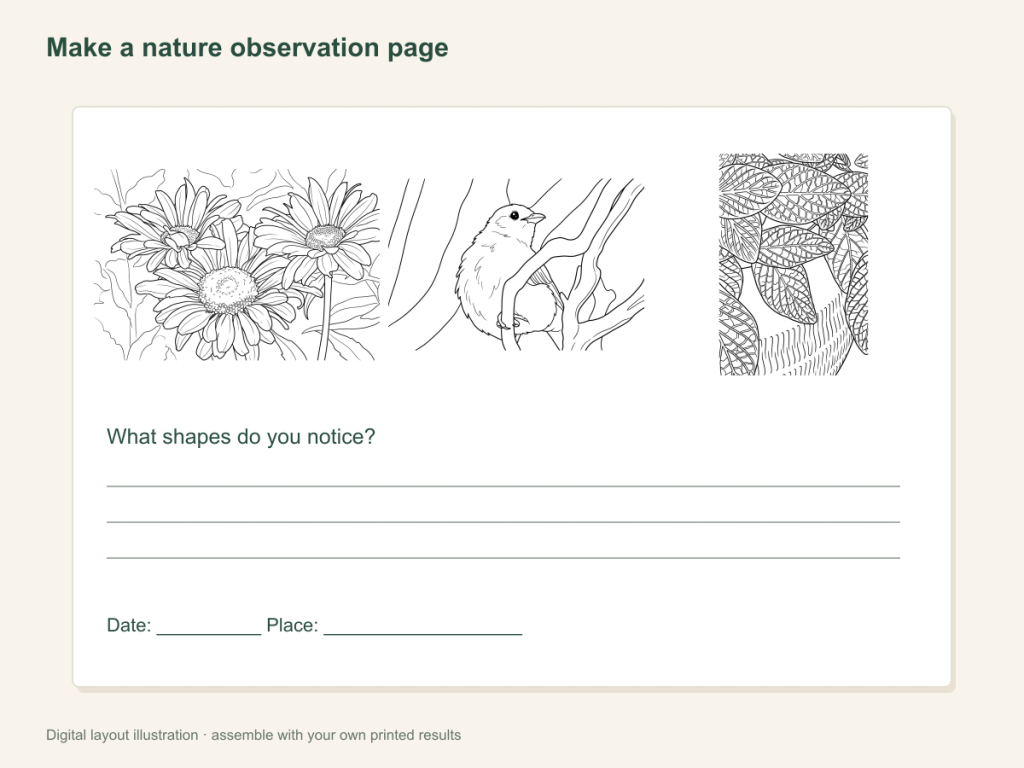
Use this paper activity illustration as a guide, then assemble your own printed pictures.
Gather what you need
- One or a few existing nature photos
- Selected coloring results, printer and coloring materials
- A notebook or folder, a pen and glue if mounting panels
Choose a drawing that fits this activity
Choose the leaf, animal or place feature you want to record. Free follows visible edges; AI may simplify them but change counts or markings. Compare the result with the original and keep factual notes tied to that photograph.
FreeConvert on your device, with no account or credits.
AIChoose drawing settings, sign in and submit with the displayed credits.
Record one observation on paper
Choose an observation, not just a pretty picture
Select a photo connected to something you noticed, such as a new leaf, an open flower or an animal's visible markings. Write what you want to record before converting. Use the matching flower, plant, bird or wildlife tool.
Check the result beside the original
Inspect the detail that matters to the observation. AI may change shapes or counts; Free may omit faint edges. Keep the photograph as the evidence for your notes, even when you prefer the coloring drawing.
Prepare a page with room for notes
Print on A4 or Letter, or make a smaller panel using your own print layout. Leave notebook space for the date, a place you choose to record and one visible detail. Attach the drawing only after planning the writing area.
Color and write what you saw
Use the original to choose colors, or label an invented palette clearly as your own choice. Record a short factual note and a question you might explore next. Use names only when you already know or have verified them.
Add observations you can compare
A later page can record the same plant or place at another time. Compare the original photos for real changes, then use the colored pages to discuss how you represented them.
When conversion changes the detail you wanted
Use a different result or put the original photo in the notebook alongside it. Do not change an observation to match an invented line in the drawing.
Help with paper size and marginsA ready-to-print page can work alongside your photo
These free coloring collections offer another picture for the activity, or a starting point when you do not want to use a photo.
- Add a seasonal nature page
Use a printed companion picture beside your dated outdoor observation, keeping photo evidence separate.
Choose a printable page - Compare detailed printable drawings
Choose an extra coloring page while using your original photograph to check observed features.
Choose a printable page
Questions about Nature photo observation journal
A journal page combining a colored interpretation with observations from the real photo.
Will the converter identify plants or animals?
No. It makes coloring drawings. Verify names separately if identification is part of your journal.
Should I record details from the AI page?
Base factual observations on the original photo. The redraw can change small features.
Can I start with only one page?
Yes. One checked observation is enough to start the journal.
Can the journal include a drawing that changes the original?
Yes, as a coloring interpretation. Keep the source beside it and record the observation from the photo, clearly separating what you saw from what the drawing suggests.
Choose your picture and make it on paper
A journal page combining a colored interpretation with observations from the real photo.