
Make a Paper Collage from Your Photo’s Shapes
Turn one object photo into a reference for a colored-paper collage. You choose and transfer the shapes yourself; the converter does not supply automatic cut lines or a cutting-machine file.
A colored-paper collage assembled from a few shapes you transfer and cut by hand.
An idea for the finished piece
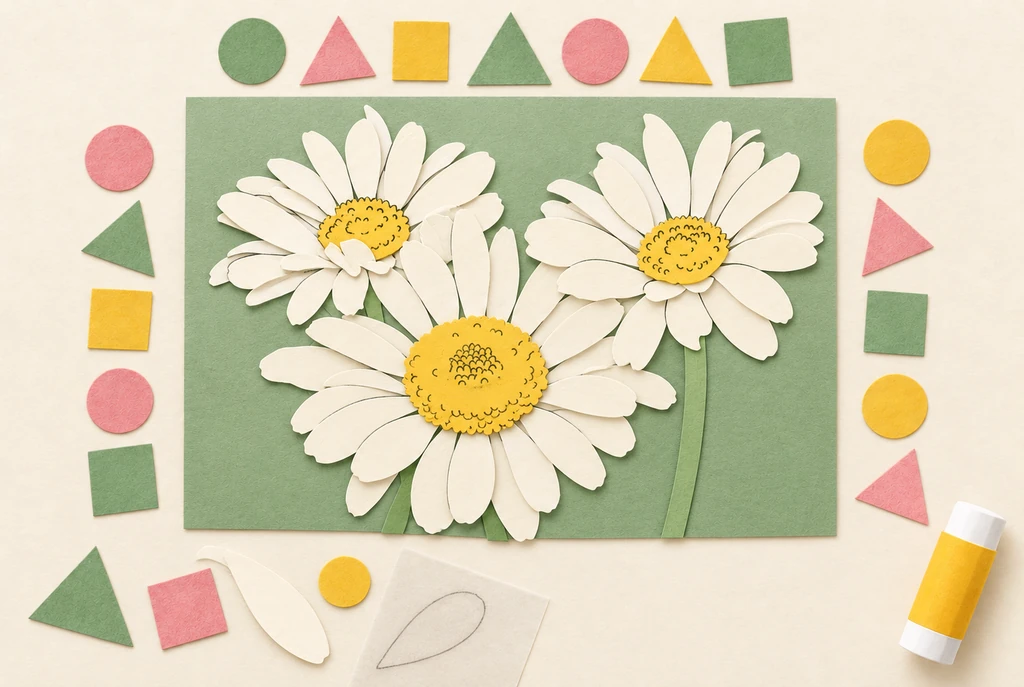
Use this paper activity illustration as a guide, then assemble your own printed pictures.
Gather what you need
- One object photo, an inspected outline print and tracing paper
- Colored paper, backing paper, pencil and glue
- Scissors prepared and used with help appropriate to the participants
Choose a drawing that fits this activity
Choose one object with a complete outside shape. Try Free first for visible contours, or compare Simple AI detail while checking any changes. Select the large shapes manually; the result is a visual reference rather than an automatic cut path.
FreeConvert on your device, with no account or credits.
AIChoose drawing settings, sign in and submit with the displayed credits.
Transfer and arrange the paper shapes
Decide which shapes belong in the collage
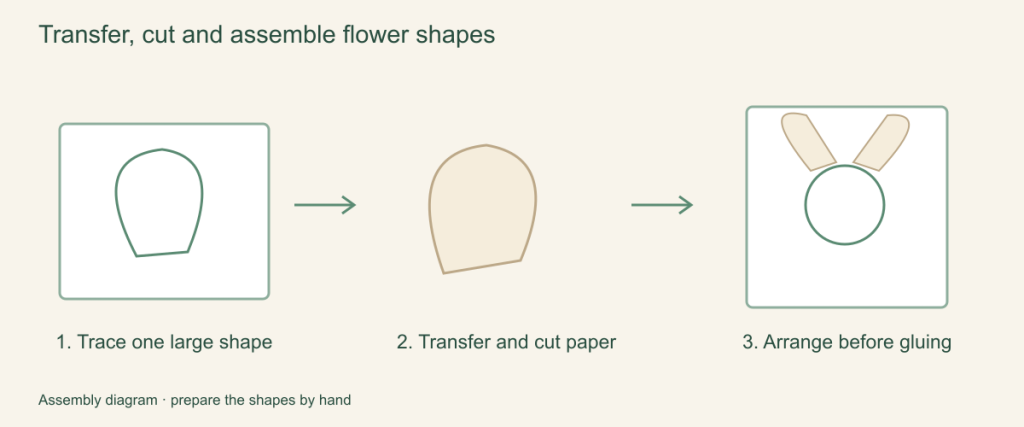
Compare the photo with its outline result. Select the outside shape and one or two large interior parts. Leave fine texture out of the cut-paper plan.
Transfer the outline by hand
Trace the chosen shape onto tracing paper. To transfer it, shade the back of the traced line with pencil, place that side against colored paper and draw over the line again. Check the light pencil mark before cutting.
Prepare separate paper pieces
Cut the transferred large shapes by hand, with adult help where needed. Simplify narrow stems or small gaps if they are awkward to cut; the print is a visual reference rather than a tested cutting template.
Arrange before gluing
Move the pieces on a backing sheet and compare their overlap with the photo. Try another background paper or a different arrangement, then glue only when you like the composition.
Add details and a handwritten label
Use a pencil or coloring materials for veins, a handle or other details too small to cut. Add the object name by hand if the collage is part of a classroom display.
Display the photo and paper interpretation
Keep the original photograph beside the finished collage to discuss which shapes were kept, simplified or moved. Save the chosen reference file if you plan another session.
If the shape is too intricate
Print larger, choose fewer pieces or use a simpler source. Conversion does not guarantee an unbroken outer contour; join a small gap by hand only after checking the intended shape against the photo.
Help with paper size and marginsA ready-to-print page can work alongside your photo
These free coloring collections offer another picture for the activity, or a starting point when you do not want to use a photo.
Questions about Photo shape collage
A colored-paper collage assembled from a few shapes you transfer and cut by hand.
Can the converter make cut-ready files?
No. This activity transfers and cuts paper shapes by hand. SVG, cutting-machine paths and automatic stencil bridges are not provided.
Can I use ready-made coloring pages instead?
Yes. Choose an existing page with a readable large outline from the linked printable collections, then transfer only the shape you need.
Must the colors match the photograph?
No. Use the photo to understand the shapes, then choose colors for your own composition.
Can I make the collage without matching the photo's layout?
Yes. Use the source to understand the shapes, then rearrange them on the backing paper. Try placements before gluing and discuss which overlaps or proportions you changed.
Choose your picture and make it on paper
A colored-paper collage assembled from a few shapes you transfer and cut by hand.