Make a Halloween Photo Coloring Banner
Build a Halloween banner from costume portraits that everyone can color. Each panel holds one familiar person or decoration, with optional ready-made pumpkin pages between them. Plan a short row for a doorway or a longer row for a classroom display.
A row of colored costume portraits mounted and joined into a handmade Halloween banner.
An idea for the finished piece
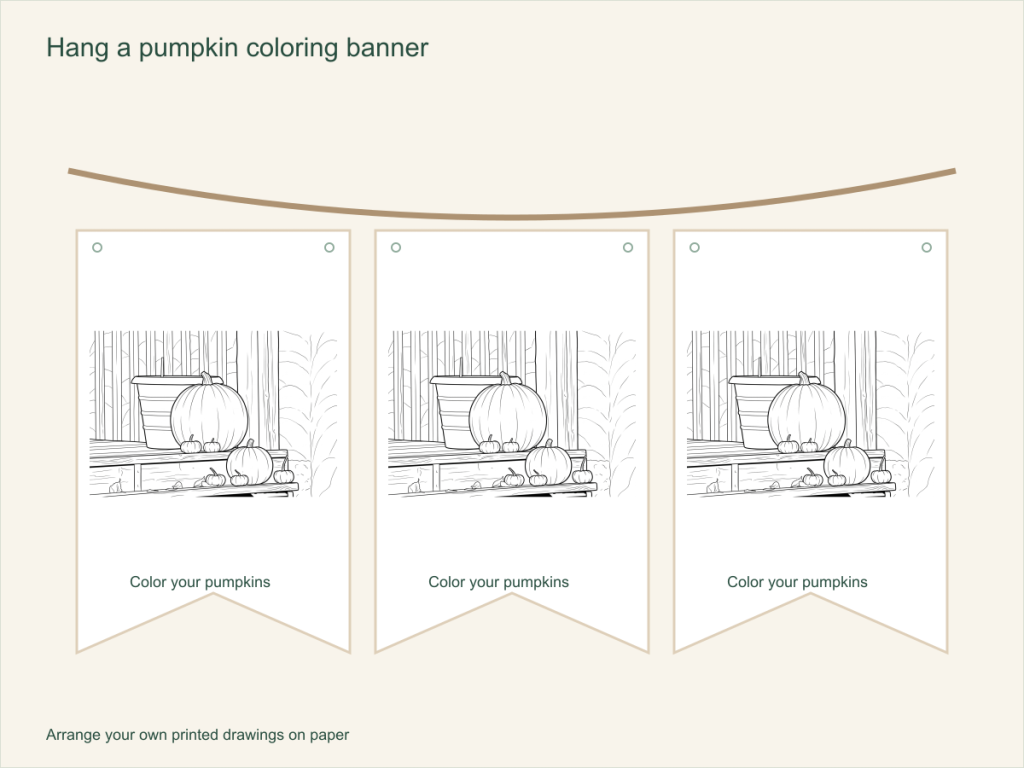
Use this paper activity illustration as a guide, then assemble your own printed pictures.
Gather what you need
- A clear costume or decoration photo for each different portrait panel
- One checked coloring result per photo, a printer and coloring materials
- Paper or cardstock for equal-sized backing panels, glue and scissors for preparation
- Ribbon or string and tape or clips to join the panels
Choose a drawing that fits this activity
Choose similarly framed portraits with hats and props fully visible. Medium or Simple AI detail can help the panel stay open; compare Free on bright sources too. Test one panel at the planned size before printing the row, and assemble the backing and lettering by hand.
FreeConvert on your device, with no account or credits.
AIChoose drawing settings, sign in and submit with the displayed credits.
Build the row of costume portraits
Pick portraits that work together
Use bright costume photos with one main person or decoration in each. Keep important hats, wings and pumpkin stems inside the frame. Similar framing makes the row easier to arrange; it does not require matching costumes.
Convert and test one panel size
Use the Halloween photo tool and compare each face and accessory with the source. Print one result at the intended panel size. If a face becomes tiny or the costume too busy, choose a closer source or a simpler drawing before making the whole set.
Color and mount the pictures
Color the drawings, then mount them on equal backing panels with a visible border. Keep the full silhouette when trimming. Write names or a short message on the border by hand if you want them.
Lay out the row before joining it
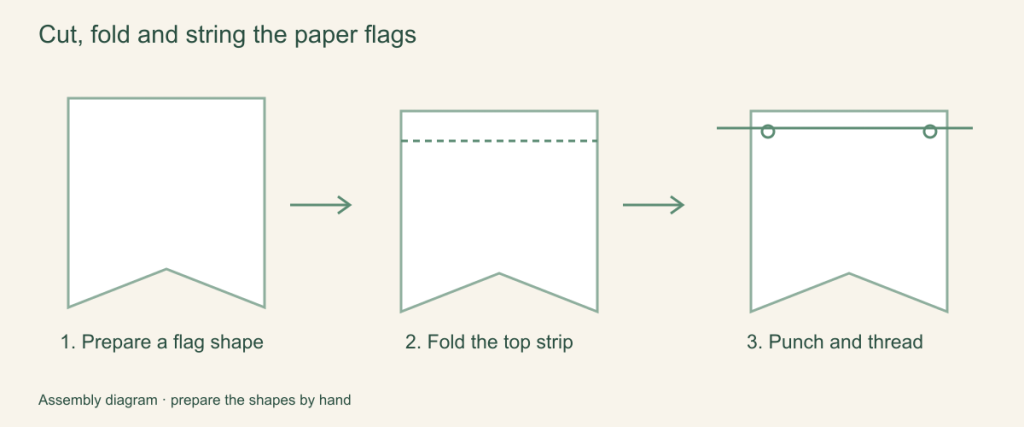
Arrange the panels on a table and check the total width, including gaps. Alternate portraits with printable pumpkins or other chosen drawings if you need more panels. Attach each backing to ribbon or string with tape or clips, leaving the pictures visible.
Hang a banner you can recognize
Display the row and invite each participant to point out their costume. Keep a spare copy of the selected drawings if you want a coloring-table activity beside the banner. The banner itself is assembled on paper.
When the portraits are too crowded
Use fewer, larger panels or shorten the row rather than shrinking every face. If dark costumes merge with the background, take a brighter source photo. Leave room around accessories so trimming does not remove the detail that identifies the costume.
Help with paper size and marginsA ready-to-print page can work alongside your photo
These free coloring collections offer another picture for the activity, or a starting point when you do not want to use a photo.
- Make a banner from Halloween drawings
Choose ready-made panels when you want to start before costume photos are available.
Choose a printable page - Add pumpkins between the portraits
Print selected pumpkin pages at the same panel size and mount them on matching backing.
Choose a printable page - Choose bold companion pictures
Look for open coloring spaces that remain usable at your planned banner size.
Choose a printable page
Questions about Halloween photo coloring banner
A row of colored costume portraits mounted and joined into a handmade Halloween banner.
Does the website make a ready-to-cut banner template?
No. It makes the coloring pictures. Mount them on your own equal-sized paper or cardstock panels and join the row yourself.
Can I make a banner without costume photos?
Yes. Use the linked Halloween and pumpkin collections, then follow the same coloring, mounting and assembly steps.
Should I generate a new result for every printed copy?
No. Download one selected result per source photo, then print the copies you need.
How is this different from the birthday coloring activity?
This activity creates several mounted panels joined into a display. The birthday activity prepares coloring pages for participants to use at a table.
How do I keep portraits aligned in the banner?
Mark a common picture area on each backing panel, check the row on a flat surface and adjust the gaps before attaching it. Keep extra border space around tall hats and props.
Choose your picture and make it on paper
A row of colored costume portraits mounted and joined into a handmade Halloween banner.