
Make Christmas Photo Coloring Ornaments
Turn a favorite face, pet or Christmas decoration into a hanging paper ornament. Color a small print, mount it on cardstock and add a handwritten year to make a keepsake. Start with one prototype so the finished size leaves enough room to color.
A small mounted paper ornament with a colored photo subject, handwritten year and ribbon.
An idea for the finished piece
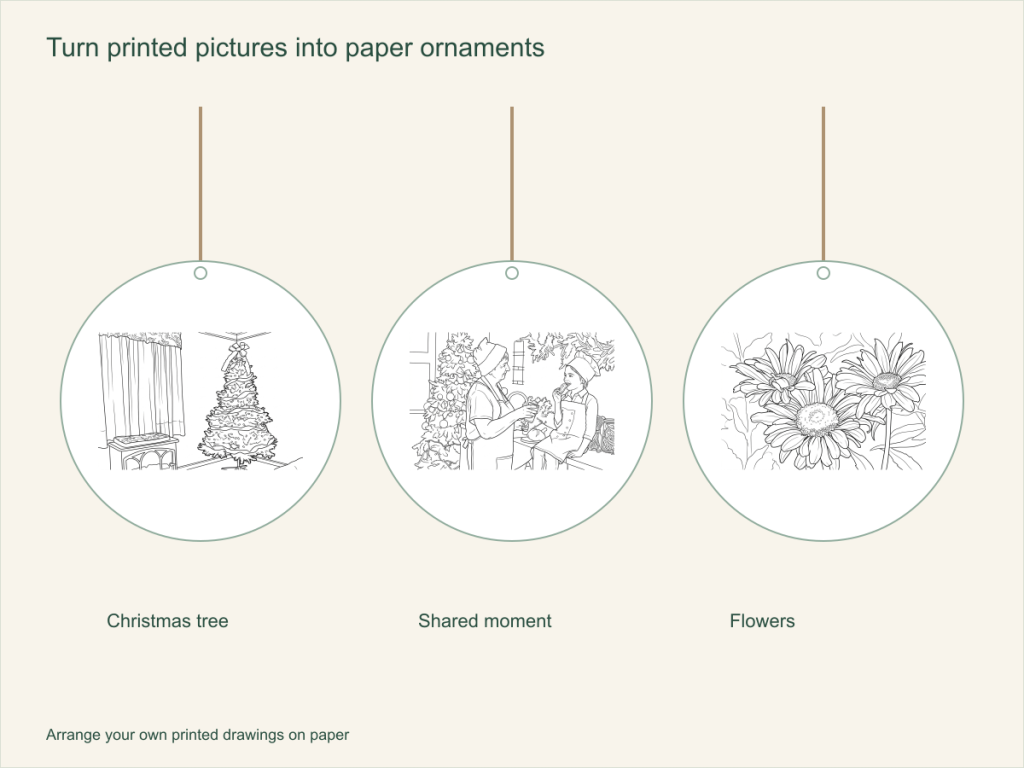
Use this paper activity illustration as a guide, then assemble your own printed pictures.
Gather what you need
- One clear photo of a face, pet or decoration for each different ornament
- A selected coloring result, printer and coloring materials
- Cardstock, pencil, glue and scissors for preparation
- A hole punch and ribbon or string for hanging
Choose a drawing that fits this activity
Use one close pet, person or decoration rather than a dense room scene. Compare a simpler AI result with a clear Free outline, then inspect the actual small print. Keep a border on the backing for the ribbon hole; the converter supplies the picture rather than the ornament shape.
FreeConvert on your device, with no account or credits.
AIChoose drawing settings, sign in and submit with the displayed credits.
Make a mounted paper ornament
Choose one recognizable subject
A close pet portrait, one face or a single decoration usually suits a small keepsake better than a wide family scene. Crop unwanted surroundings in your own photo editor before choosing the file if necessary.
Make and inspect a small test print
Convert with the relevant photo tool and check the features against the original. Print at the intended size and try coloring an eye, ribbon or other small area. Use a larger ornament or a simpler result if the spaces are too narrow.
Color and add a backing border
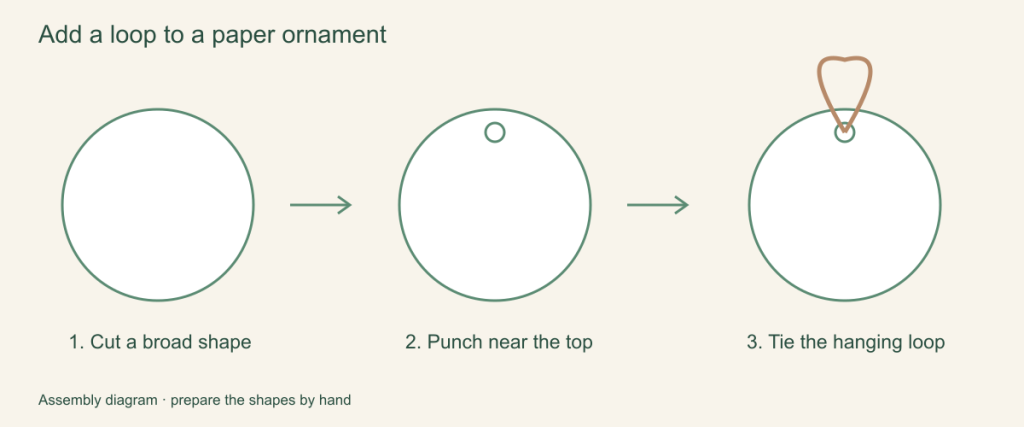
Color the selected print before mounting it. Draw an oval, rectangle or another simple backing shape on cardstock, leaving a border around the picture and extra space at the top for a hole. Cut the backing and attach the drawing.
Add the year and hanging ribbon
Write the name or year on the back by hand. Let the glue dry, punch a hole in the clear cardstock border and thread the ribbon. Keep the hole away from the picture and leave enough backing around it for the ornament to hang.
Keep a small set of family memories
Hang the finished paper ornaments on a tree or a display branch. Make copies from the same downloaded result for relatives, adding their messages by hand. For a full family scene, a larger coloring page or card may be a better keepsake.
When a small picture loses its detail
Increase the physical print size or choose a closer source with fewer small objects. More pixels alone do not open up narrow coloring spaces. Keep the ribbon hole in the backing border so it does not cut through a face, ear or decoration.
Help with paper size and marginsA ready-to-print page can work alongside your photo
These free coloring collections offer another picture for the activity, or a starting point when you do not want to use a photo.
- Choose a Christmas ornament picture
Test one selected drawing at a small size before mounting copies on cardstock.
Choose a printable page - Make a paper tree ornament
Use a tree drawing as another handmade keepsake and leave a backing border for the ribbon hole.
Choose a printable page - Find a simpler keepsake design
Broad shapes may suit a small print better than a detailed family scene; check the preview.
Choose a printable page
Questions about Christmas photo coloring ornaments
A small mounted paper ornament with a colored photo subject, handwritten year and ribbon.
Does the tool generate an ornament shape and hole?
No. It converts your photo into a drawing. You prepare the cardstock shape, border and hanging hole on paper.
Can I use a ready-made Christmas picture instead?
Yes. Choose an existing drawing from the linked Christmas or Christmas tree collections and test it at your intended ornament size before mounting.
Can I add the year automatically?
Add it by hand on the backing, or use your own layout software after downloading. Generated text should not be assumed correct.
How is this different from a gift tag?
These keepsakes have a backing border and ribbon hole for hanging and keeping. Gift tags are prepared with space for a recipient and message on a package.
Can I use the same image for an ornament and a larger card?
Yes. Reuse the selected result, but test each physical size. A panel that is easy to color on a card may need a simpler subject or larger ornament backing.
Choose your picture and make it on paper
A small mounted paper ornament with a colored photo subject, handwritten year and ribbon.