
Practice Tracing with a Line Drawing from Your Photo
Use a photo of one object to prepare a paper drawing reference. Trace a few main contours, then compare your hand-drawn lines with the photo. This is an observation activity, not an automatic handwriting or drawing assessment.
A traced contour and a second drawing made by observation, kept as a small practice record.
An idea for the finished piece
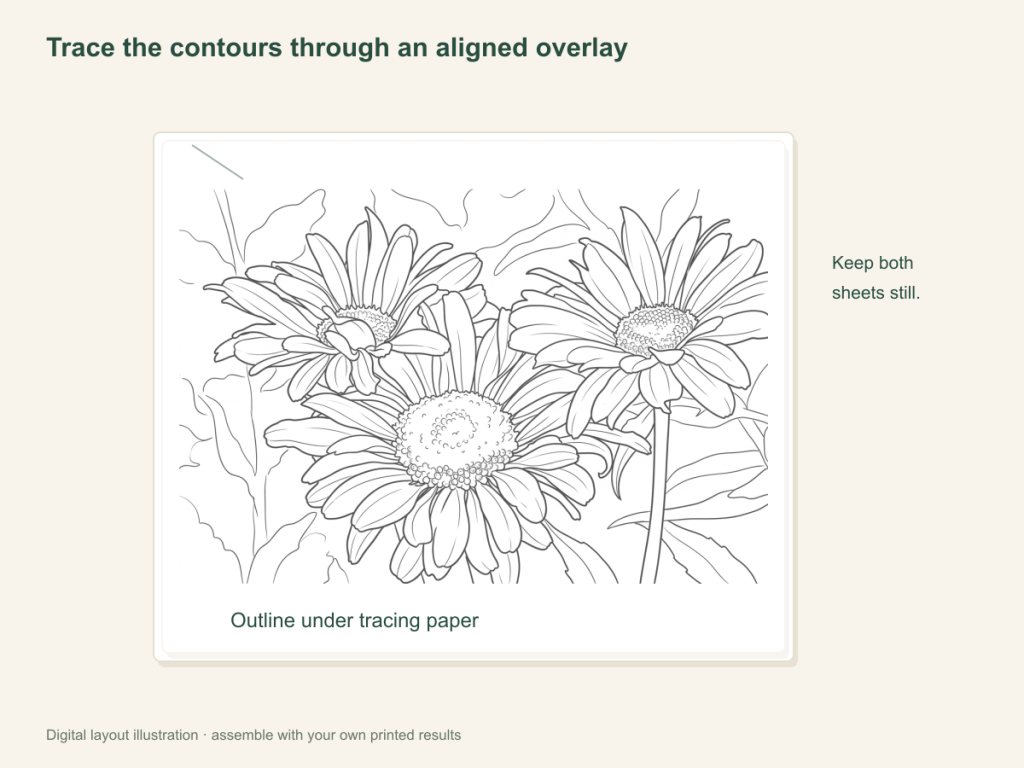
Use this paper activity illustration as a guide, then assemble your own printed pictures.
Gather what you need
- One clear object photo and one inspected line-art or outline result
- A printer, tracing paper, pencil and an eraser
- Low-tack tape or clips to stop the sheets sliding
Choose a drawing that fits this activity
Choose a leaf, mug or toy with a few clear contours. Free may provide a useful reference; compare Medium AI detail rather than filling the page with texture. Check the shape against the photo and select only the lines you intend to trace.
FreeConvert on your device, with no account or credits.
AIChoose drawing settings, sign in and submit with the displayed credits.
Trace, lift the sheet and draw again
Choose the contours you want to practice
Look at the source together. Pick two or three lines, such as the edge of a leaf and its central vein. Avoid starting with every texture mark in a detailed result.
Convert and check the reference
Use the line-art or outline tool. Compare the drawing with the original and reject changed or unreadable features. Medium detail may leave a clearer route to follow than a dense Detailed result.
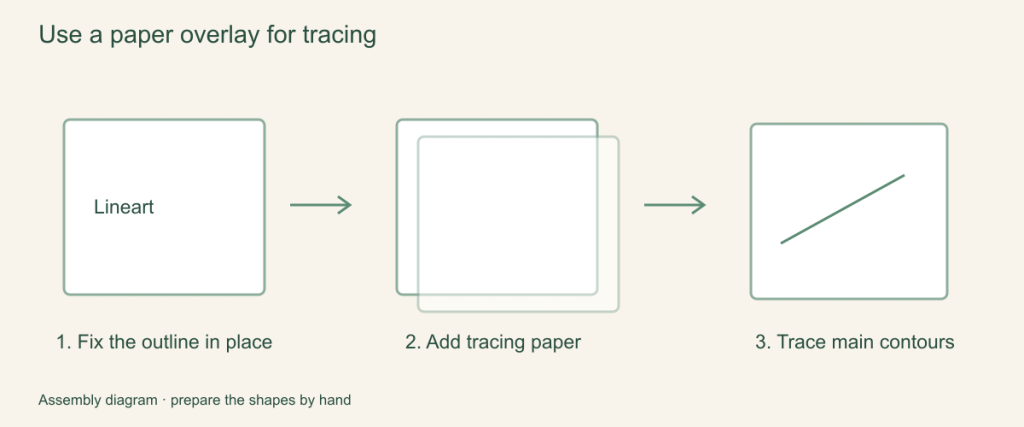
Print and secure the paper
Use A4 or Letter print preview and check the shape is large enough. Place tracing paper over the print, then tape or clip the sheets so the contour does not move while you draw.
Trace slowly, then lift the sheet
Follow one selected contour with a pencil. Lift the tracing paper to see the new drawing separately. Notice where a curve, corner or overlap changed, without treating it as a scored exercise.
Draw one part again without tracing
Keep the photo beside a fresh sheet and draw just the same contour by observation. Compare the two attempts and discuss which shape was easier to see.
Keep a small practice record
Write the object name and date by hand. Keep the traced sheet and observation drawing together; a second session can use the same print without another conversion.
If the lines are hard to follow
Choose fewer contours, print larger or start with a simpler object. A thicker line can help visibility, but a dense reference remains dense. If the sheets slide, secure them again before continuing.
Help with paper size and marginsA ready-to-print page can work alongside your photo
These free coloring collections offer another picture for the activity, or a starting point when you do not want to use a photo.
Questions about Photo tracing practice
A traced contour and a second drawing made by observation, kept as a small practice record.
Do I need AI for this activity?
No. A readable Free outline can work. Compare it with your source before preparing the reference.
Can I trace a portrait?
You can, but a familiar object is often a simpler first task. Check AI-altered facial features against the original rather than teaching from them as exact anatomy.
Does the site check my drawing?
No. The drawing and discussion happen on paper, with your own observation of the source.
Should I trace every line in the print?
No. Begin with two or three selected contours. Lift the tracing paper to inspect your own marks, then try the same small part again by looking at the photo.
Choose your picture and make it on paper
A traced contour and a second drawing made by observation, kept as a small practice record.