
Make a Coloring Greeting Card from Your Photo
Turn a photo coloring result into the front of a folded card. Plan the paper size first, then print, color and mount a panel with a message written by hand.
A folded paper card with a colored photo panel and a handwritten message.
An idea for the finished piece
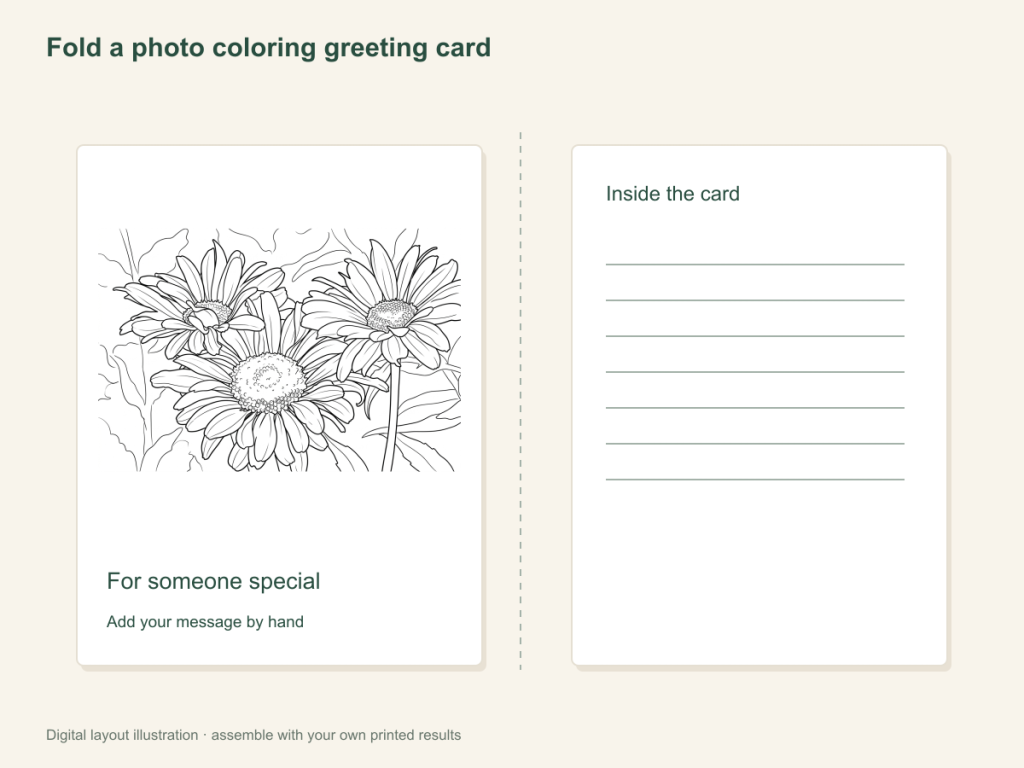
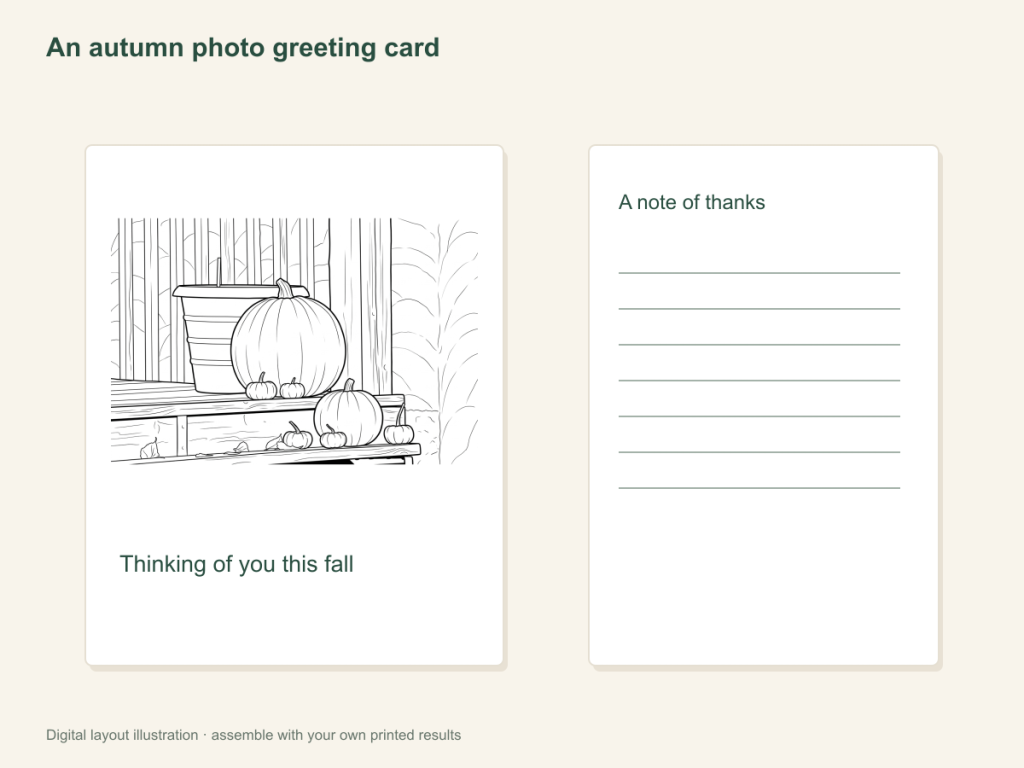
Use this paper activity illustration as a guide, then assemble your own printed pictures.
Gather what you need
- One photo of a person, flower or another recognizable subject
- A chosen coloring result, printer and paper
- Cardstock for a folded card, coloring materials, glue and scissors for preparation
Choose a drawing that fits this activity
For a small card front, a close portrait or single flower can read more clearly than a wide scene. Try less AI detail for open spaces, or use a clean Free outline. Test the actual panel size before cutting the final print.
FreeConvert on your device, with no account or credits.
AIChoose drawing settings, sign in and submit with the displayed credits.
Make and mount the card panel
Choose a subject for the message
A familiar portrait can suit a personal note; a single flower gives a simpler decorative front. Choose a result with open spaces that remain readable when reduced. Use the portrait or flower photo guide to convert your source.
Plan the folded card
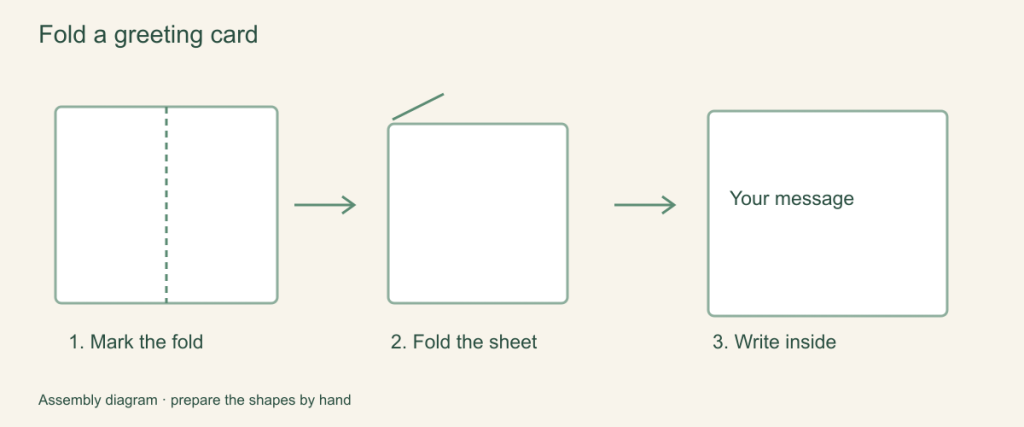
Fold a blank sheet of cardstock and mark the space for the front panel. Leave a border around it and room inside for your message. The card layout is made on paper; the converter does not create a folded-card template.
Print a panel that fits
Use A4 or Letter in the result's print controls. If a smaller panel is needed, use your printer's scaling options or your own layout software. Check a plain-paper print against the card before cutting the final piece.
Color, trim and attach
Color the panel while it is still flat, trim around the outer rectangle and attach it to the front. Write the message inside and add a name or date by hand.
Check the card before giving it
Open and close it to see that the panel sits away from the fold. The finished item is your handmade card, with the converted photo as one part of the design.
When the small panel is hard to color
Choose a simpler outline or a larger card. Bold lines can help a broad subject, but very small portraits may still lose expression; test the actual printed size.
Help with paper size and marginsA ready-to-print page can work alongside your photo
These free coloring collections offer another picture for the activity, or a starting point when you do not want to use a photo.
Questions about Photo coloring greeting cards
A folded paper card with a colored photo panel and a handwritten message.
Does ColorWillow create the fold lines?
No. Fold and measure the cardstock yourself. The tool creates the coloring image.
Can it write the greeting on the photo?
Add the message by hand or in your own layout software; automatic greeting text is not supplied.
Can I print several cards from one result?
Yes. Reuse your selected panel and print copies instead of generating it again.
Should I color before attaching the panel?
Color it flat first, then trim and glue it to the card. This keeps the folded card out of the way and lets you replace a panel before mounting it.
Choose your picture and make it on paper
A folded paper card with a colored photo panel and a handwritten message.