
Turn a Bird Photo into a Coloring Page
Make a printable bird drawing with a visible beak, feet and body shape. A clear perched pose is easier to compare than a blurred bird in flight.
- Clean outlines
- Custom styles
- Adjustable detail
Checking your account…

See what your photo can become
My creations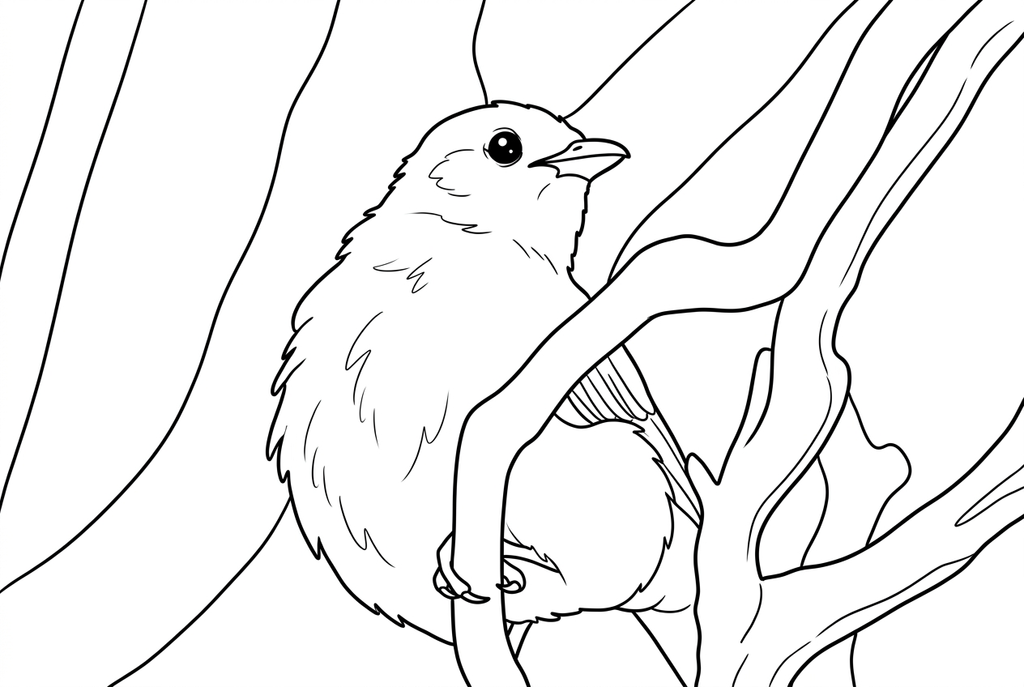
Generating your page
This result is temporary and has not been saved to your account.
Optional: save only the result to your account. Uses storage, not credits.
Match the paper size in your browser’s print dialog.
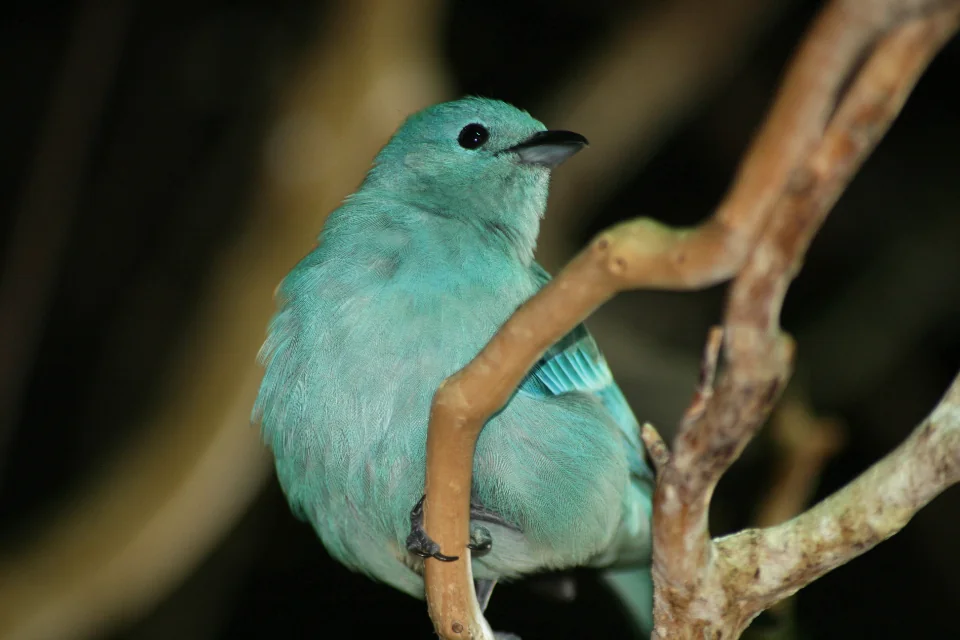
Photo: Travel Photographer · CC0 1.0 · License
Redraw photo textures as clean outlines, with clearer shapes and open spaces for coloring.
- Balance feather detail with larger coloring spaces
- Keep the perch and surrounding scene
Conversion status
You can leave this page and come back. Your AI task continues in the background.
Start with the bird's shape before its feathers
A readable beak, feet and tail make the result easier to inspect.
Choose a clear perched view
Look for a side or three-quarter angle with visible beak and feet. Check where a branch hides toes before selecting the source.
Keep only useful feather texture
Classic with Medium detail is the AI starting point. Try less detail for bigger coloring spaces, and keep the branch when it explains the pose.
Pair the page with a sighting note
Compare beak, feet and markings with the original. Print a notebook-sized test and record the date and only a verified bird name by hand.
Photo tips: Bird photos
- Choose a photo where the bird is large enough to see the beak and feet.
- A side or three-quarter view can separate the beak from the head.
- Check which toes, tail feathers or body edges are hidden by a branch.
- Look for a clear frame instead of a motion-blurred wing pose.
Compare feather texture and larger shapes
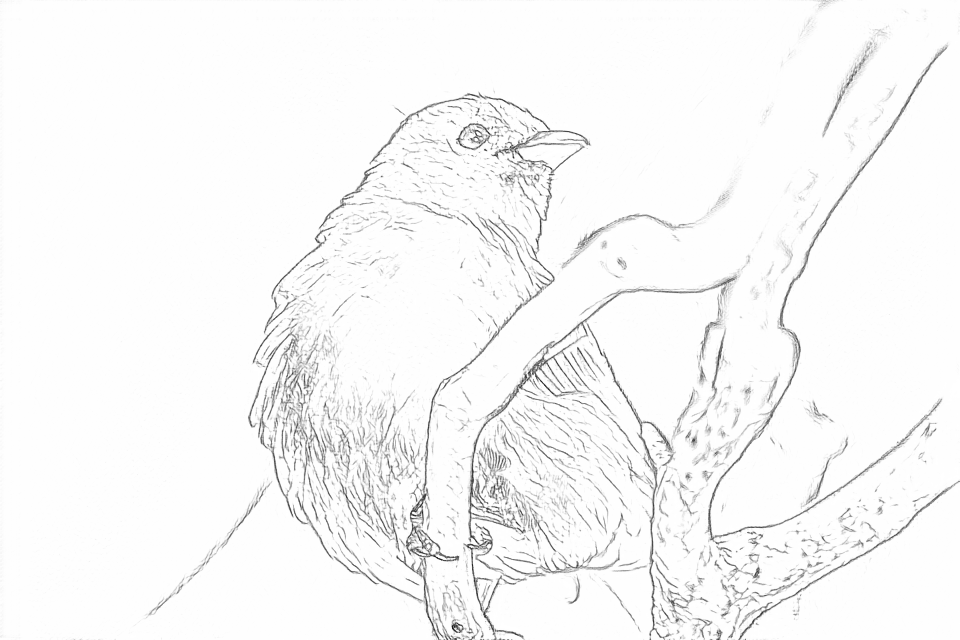
Free follows fine feather and branch edges. AI groups feather areas and retains the bird’s pose and perch. Use the photo for identification.
Free: follow the visible edges
AI: simplify the drawing for color
AI can change small features. Compare the drawing with the photo before printing or making a keepsake.
Explore other AI drawing choices
Compare the starting point with two drawing choices from the same photo. Look at the shapes and lines, then use the settings beneath the result you prefer.
Starting point: AI can change small features. Compare the drawing with the photo before printing or making a keepsake.
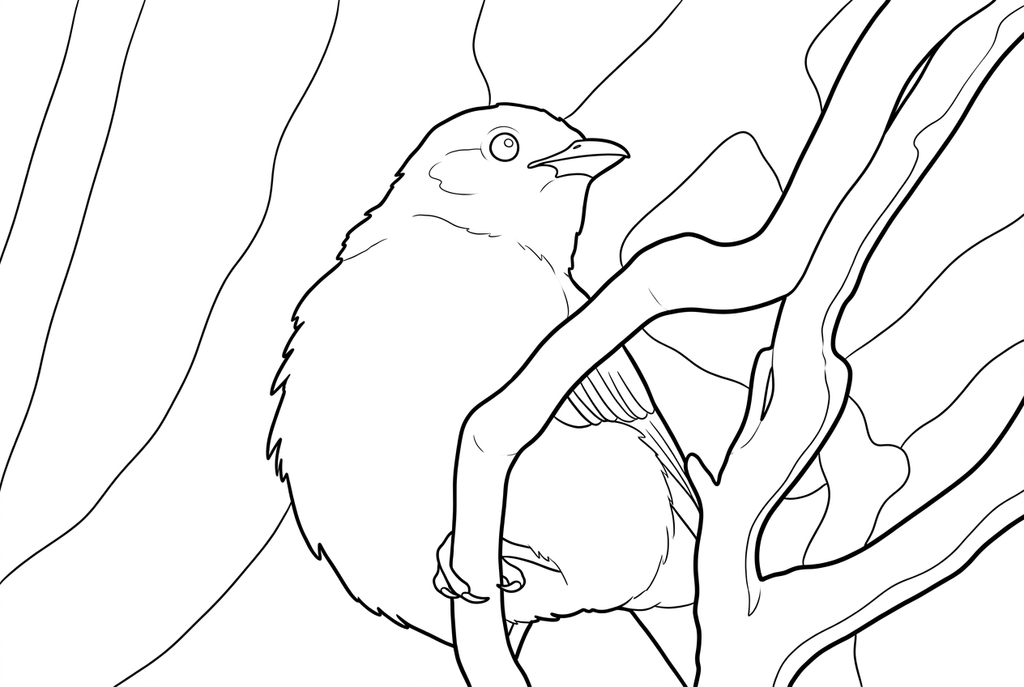
Simple with Bold leaves broad body areas and stronger bird and branch contours. Fine feather marks are reduced; check the eye, beak and feet against the photo.
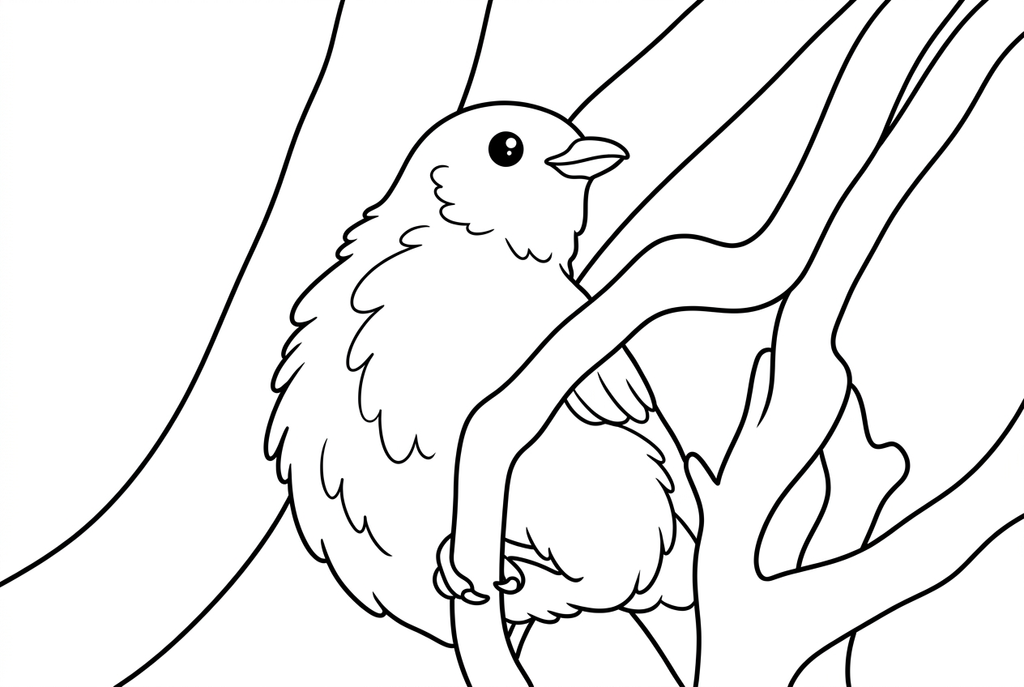
Kawaii rounds the body and enlarges the eye, with fewer feather marks. Compare this playful interpretation with the original bird.
See more results from this photo (1)
These are additional real conversions of the same source. Compare their settings and smaller features before choosing a drawing.
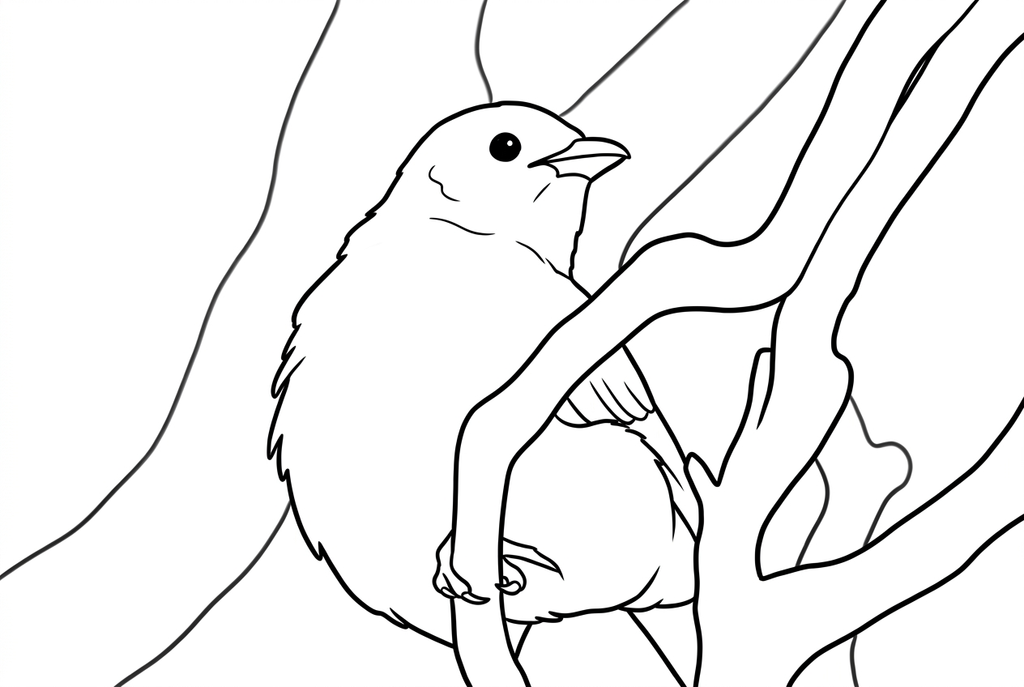
Compare feather grouping around the body and wing.
Shape first, then feather detail
- Classic
- Medium
- Standard
- Keep background
Check the body outline, head angle and tail before adding feather texture. A page with many tiny feather marks can be difficult to color even when it looks detailed on screen.
For AI, try Classic with Medium detail; compare Simple when the body becomes crowded. Inspect the beak and feet after each result because a redraw can change them.
Branches and background choices
A branch may explain the pose, so you may want to retain it. Keep background can also preserve dense leaves or fencing, while Simplify can change the surrounding scene.
Free can preserve many small branch edges. Choose an uncluttered source when your goal is a clear bird outline rather than a whole habitat scene.
Pair the page with a sightings note
Write the observation date, place and visible markings from the original photo. Color the drawing with the photograph beside it, checking any stripe or patch you discuss.
For a recurring record, use the birdwatching activity. It keeps sightings separate from guesses about species or features that appear only in the generated drawing.
Check the drawing before making copies
Inspect the features that matter to this photo and its intended paper use.
Compare the beak, feet, wing outline and visible markings with the original bird photo.
Check where the bird meets a branch for merged feet or extra lines.
Test the notebook print size and keep identification notes tied to the source photograph rather than the redraw.
Keep a result you can use again
Free: keep the file before leaving
Download the PNG or print on A4 or Letter. Conversion runs on your device; refreshing does not retain an unsaved result. Sign in only if you choose to save to My creations.
Free photo conversionAI: return to the finished task
Sign in and submit with the displayed credits. Open the saved result to download, export or print. Review the drawing beside your source before using it for the activity.
AI photo conversionPrint another copy of a selected result without generating again. A new AI submission uses credits. For a PDF from Free, use your browser's print-to-PDF option where available.
A ready-to-print page can work alongside your photo
These free coloring collections offer another picture for the activity, or a starting point when you do not want to use a photo.
Questions about Bird photos
A readable beak, feet and tail make the result easier to inspect.
Can a photo of a flying bird work?
Try it if the outline is clear. Motion blur and overlapping wings can make the result hard to inspect; a perched photo is a simpler starting point.
Does more detail guarantee correct feathers?
No. More detail changes drawing complexity, not biological accuracy. Compare with the original photo.
Will it tell me which bird I saw?
No species identification is provided. Add a name only when you have verified it elsewhere.
What if the feet are hidden behind the branch?
Do not assume a generated set of toes matches the bird. Choose another frame if feet are important; otherwise record that they were hidden in the original.
Start with the photo you want to color
A readable beak, feet and tail make the result easier to inspect.