Those lovely floppy ears
Floppy-Ear Dog Face — pumpkin carving stencil
Long drooping ears, small round eyes and a broad nose make a cheerful dog face. A large open smile gives it a friendly expression without teeth or tiny mouth details.
Those lovely floppy ears
Your pumpkin, your way
Those lovely floppy ears
EasyLong floppy ears frame two round eyes, a broad nose and a happy open mouth.
Sets the printed width. The pumpkin illustration stays the same size.
Print layoutA4 · 160 mm wideChoose Paper stencil for a larger print preview.
Or save an image ·
Check narrow gaps on the printed template before carving.
Build your own pumpkin face →Mix eyes, a smile and playful extras to make a separate design.

A closer look at this pattern
What to cut. What to keep.
Follow these shapes
Trace the two ears, two eyes, nose and mouth as six separate openings. The mouth is filled throughout; it is not an outline with a center to keep.
Leave these areas connected
Preserve the wide muzzle area between the nose and smile. Leave space beside each eye and along the inner edges of the ears so the face stays readable.
Fit this design to your pumpkin
The outside edges of the ears set the width. Check their lower ends on the paper as well as the mouth, especially on a pumpkin with a narrow lower front.
Print width: 140–185 mm. Check the whole print against your pumpkin before transferring; this range does not guarantee the design will be easy to carve.
From this page to your pumpkin
Print, check, transfer.
Set the width of this pumpkin carving stencil with the controls above, flip the whole design if needed, and choose A4 or US Letter. The PDF keeps your chosen measurements; PNG gives you an image for other projects.
- Download the PDF and print at 100% or Actual size. Measure the 50 mm line to check your printer settings.
- Tape ordinary printer paper over a smooth area. Trace with transfer paper underneath, or mark closely spaced dots along the dark outlines.
- Remove the paper and compare your marks with the cut-and-keep notes above. An adult handles carving; use an LED light for the glow.
Another shape, another personality
More patterns to compare
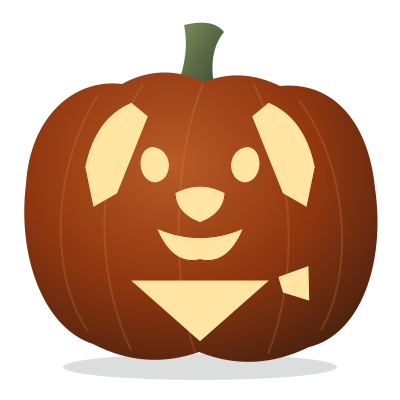

Dog Face with a Bandana
A friendly dog face wears a separate triangular bandana below its smiling muzzle.
View & print pattern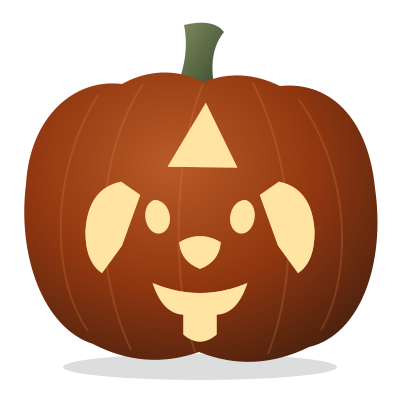

Dog with a Party Hat
A pointed party hat, two floppy ears and a tongue-out grin make a cheerful puppy face.
View & print pattern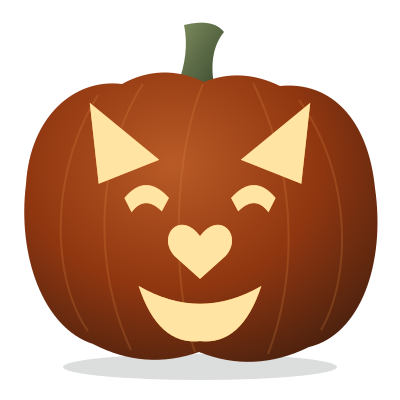

Dog Face with a Heart Nose
Pointed ears and curved eyes frame a heart-shaped nose above a broad smile.
View & print patternPumpkin previews are illustrations. Check the printed pattern against your pumpkin before carving.