One pumpkin or a whole little crowd? Start with a look you love. Every idea comes with free printable stencils, pattern-specific instructions, and an adjustable A4 or Letter PDF.
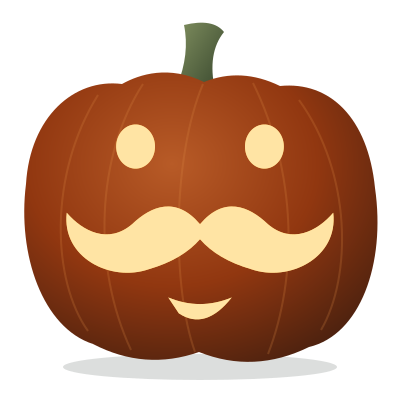
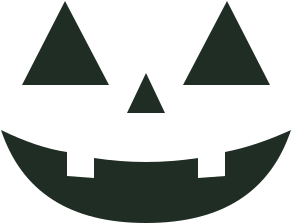
Choose the classic face for straight-sided eyes, a moustache for a funny character, or a cat and moon for a complete little scene. Open a design to compare its paper silhouette, fit the size and download the PDF.
These are illustrated arrangements to help you plan. Choose one design or print a separate template for each pumpkin in the group.
✧✦
Illustrated pumpkin preview
01 / The conversation starters
A wonderfully odd pumpkin family
Let the personalities clash: a beaming pumpkin, a distinguished moustache and one very unimpressed neighbor.
Put it together
Use three pumpkins of different sizes. Put the tallest at the back and turn each face slightly toward the middle. Keep the print width specific to each pumpkin.
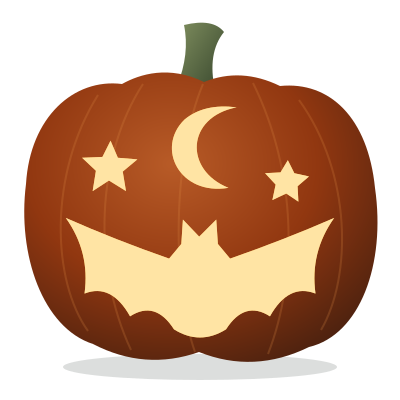
A watchful cat, a flying bat and a shooting star turn a small group of pumpkins into a night-sky scene.
Put it together
Place the cat and bat side by side, with the star on a smaller pumpkin in front. Use an LED light in each one. These previews show illustrations, not photographed carvings.
Pair a wide, toothless laugh with heart-shaped eyes for a friendly greeting by the door.
Put it together
Choose two similarly sized pumpkins so the different expressions stand out. Set both designs to a width that fits, then compare their printed outlines before transferring.
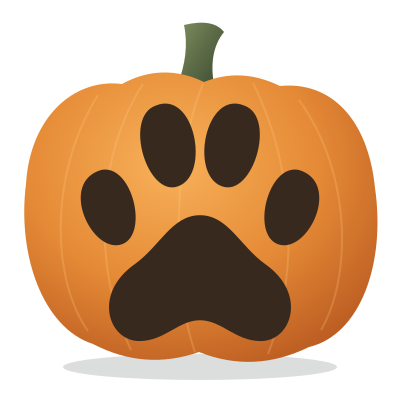
Mushrooms, a broad leaf and a paw print make an autumn group with no jack-o’-lantern faces at all.
Put it together
Arrange the three pumpkins together on a stable surface. Keep the mushroom caps and stems as separate cuts. If you prefer paint, trace and fill these same dark silhouettes.
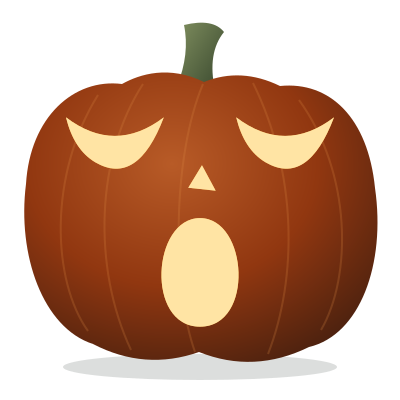
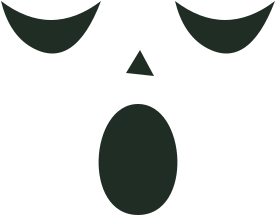
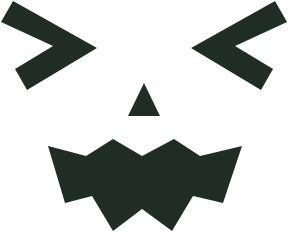
One pumpkin is ready for bed. The other is just about to sneeze. Opposite expressions make the pair work.
Put it together
Put the faces at roughly the same height. Leave a small gap between the pumpkins, and keep the scene simple so the yawning mouth and zigzag sneeze stay easy to spot.
Invite a one-eyed pal, a little fanged grin and a waving ghost to the same doorstep.
Put it together
Choose one as a solo pumpkin or print all three for a group. The ghost includes an open channel around the face; leave it connected as shown in the paper template.
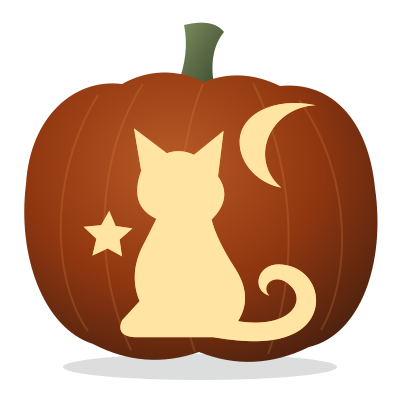
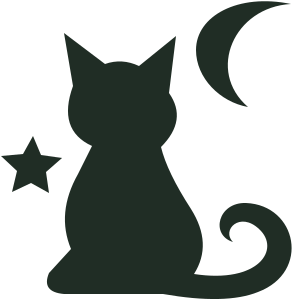
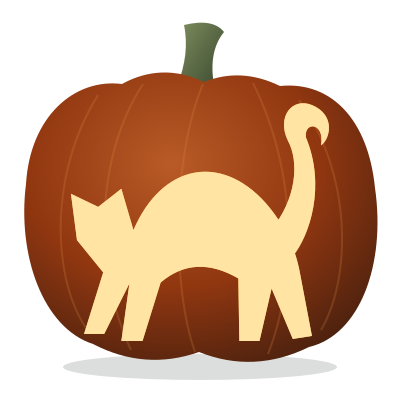
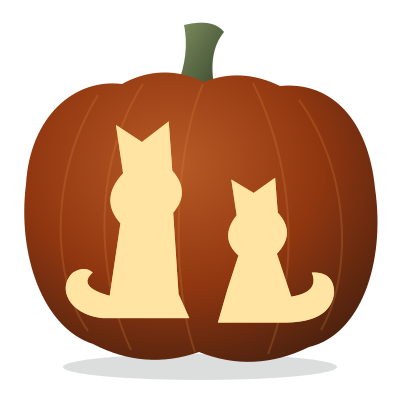
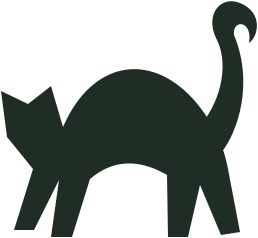
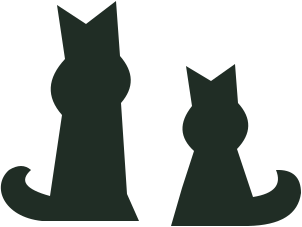
An arched silhouette, two close companions and a moonlit lookout give each pumpkin its own cat story.
Put it together
Put the broad arched cat on the widest pumpkin and the taller moon scene on the tallest. Center the paired cats between them. Print each separately at a width that keeps the tails and the spaces between legs intact.
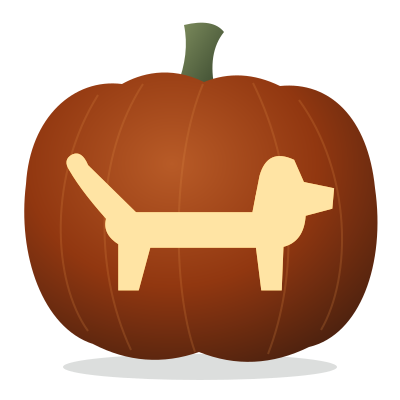
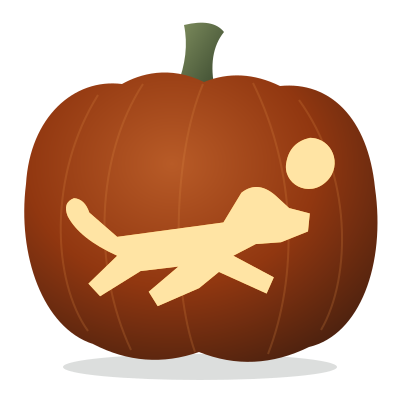
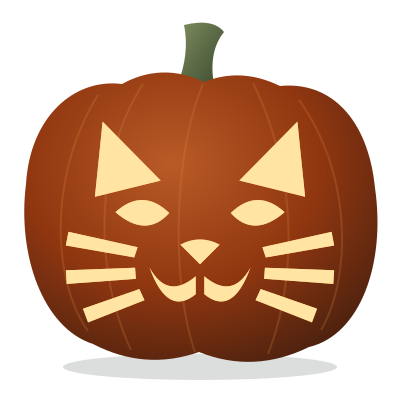
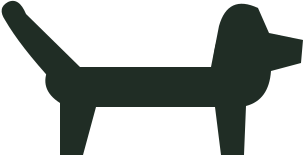
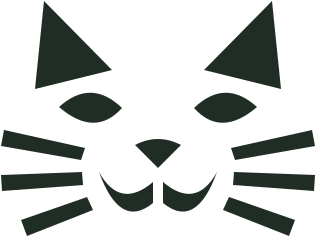
A long, low dog, a playful fetch silhouette and a cat face turn three pumpkins into a pet-filled doorstep.
Put it together
Choose a broad pumpkin for the dachshund so the back and tail fit without wrapping around the side. Angle the fetch scene toward the cat face. Leave space between the pumpkins so the different outlines read separately.
A crooked house, a waving ghost and a bare tree make a small Halloween street without a row of matching faces.
Put it together
Place the house in the middle, the ghost beside it and the tree slightly behind. Keep the gaps between the house’s separate roof and wall shapes open; the door and window shapes are cut away. Follow its detail page before transferring the design.
An acorn, a mushroom and an apple make a compact autumn group with a different outline on each pumpkin.
Put it together
Check the actual-size print against each pumpkin before transferring. Use the Small designs’ width controls rather than shrinking a detailed scene. Set the pumpkins on a stable tray with space around each one; use the shapes as painted outlines if carving space is limited.
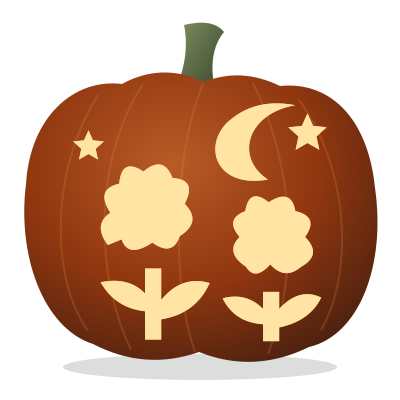
A moonlit garden, an owl among branches and a candle bring different heights and textures to a quiet night display.
Put it together
Give the two detailed scenes the largest smooth surfaces and place the candle in front. Print all three before starting so you can compare their scale. Work through each detail page’s cut-and-keep notes; do not shrink a narrow branch just to match the other pumpkins.
Start with your pumpkins, ordinary printer paper, tape, a transfer tool and LED lights. An adult should handle the carving.
Choose a pattern. Open any of the named designs above. Its detail page includes this idea’s return link, so you can come back for the other patterns in the group.
Measure & print. Set the width for that pumpkin and choose A4 or US Letter.
Transfer the dark shapes. Tape the paper in place, then trace or prick the outlines.
Carve or paint. Keep the light areas attached, or use the silhouette as a painting guide.