Who is out there?
Watchful Owl — pumpkin carving stencil
Two oval eyes, pointed ear tufts and a small triangular beak give this owl an alert expression. A broad body surrounds the white face, leaving an opening between the ears.
Who is out there?
Your pumpkin, your way
Who is out there?
A little detailA watchful owl with oval eyes, pointed ear tufts and a scalloped lower edge.
Sets the printed width. The pumpkin illustration stays the same size.
Print layoutA4 · 165 mm wideChoose Paper stencil for a larger print preview.
Or save an image ·
Check narrow gaps on the printed template before carving.
Build your own pumpkin face →Mix eyes, a smile and playful extras to make a separate design.

A closer look at this pattern
What to cut. What to keep.
Follow these shapes
Transfer the outer body, two oval eyes and triangle beak. The large light face area stays in the pumpkin; it is not a separate piece to remove.
Leave these areas connected
The opening between the ear tufts connects the face to the outer shell. Keep that route open and preserve the light spaces between the eyes and beak.
Fit this design to your pumpkin
Look closely at the face opening and the pointed lower feathers at your chosen width. The owl is taller than it is wide, so include its full lower edge when fitting the paper.
Print width: 165–185 mm. Check the whole print against your pumpkin before transferring; this range does not guarantee the design will be easy to carve.
From this page to your pumpkin
Print, check, transfer.
Set the width of this pumpkin carving stencil with the controls above, flip the whole design if needed, and choose A4 or US Letter. The PDF keeps your chosen measurements; PNG gives you an image for other projects.
- Download the PDF and print at 100% or Actual size. Measure the 50 mm line to check your printer settings.
- Tape ordinary printer paper over a smooth area. Trace with transfer paper underneath, or mark closely spaced dots along the dark outlines.
- Remove the paper and compare your marks with the cut-and-keep notes above. An adult handles carving; use an LED light for the glow.
Another shape, another personality
More patterns to compare

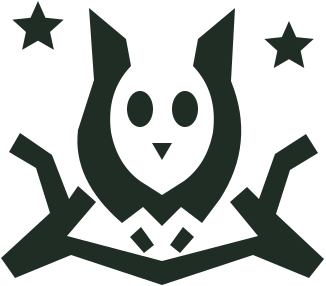
Owl on Branches
An open-faced owl sits between bare side branches, with two separate feather openings.
View & print pattern

Crooked Tree and Moon
One bent tree spreads chunky bare branches below a crescent moon.
View & print pattern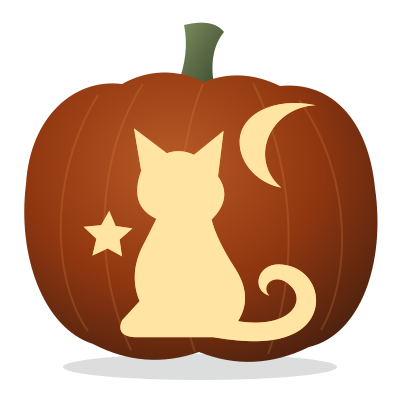
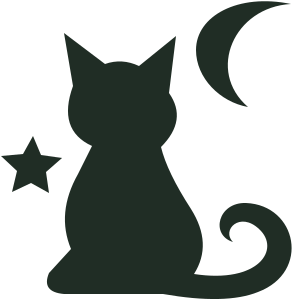
Cat and Moon
A sitting cat, a curled tail and a crescent moon. A silhouette made for moonlit evenings.
View & print patternPumpkin previews are illustrations. Check the printed pattern against your pumpkin before carving.